We may earn money or products from the companies mentioned in this post.
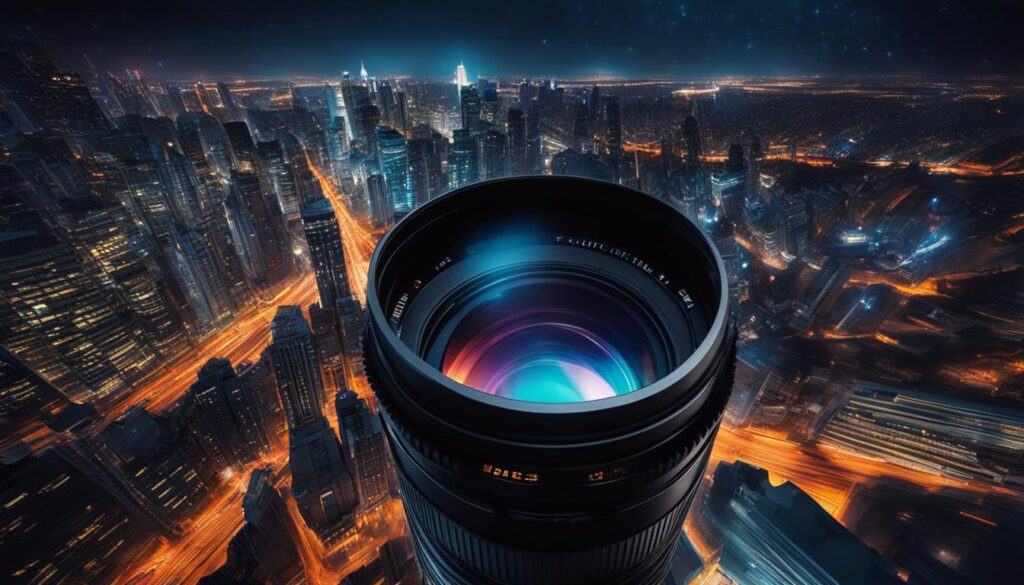
Professional night photography can be a daunting task for photographers of all levels. But with the right techniques, gear, and mindset, anyone can capture breathtaking images even in the darkest of conditions.
In this article, we’ll explore the ins and outs of night and low-light photography. From understanding the unique challenges to employing effective techniques and gear, you’ll discover everything you need to know to elevate your skills and create stunning images that stand out.
Key Takeaways:
- With low-light conditions, understanding the unique challenges posed is the first step towards capturing exceptional images.
- Essential gear for night photography includes cameras, lenses, tripods, and other accessories.
- Various techniques can be used to shoot in low-light conditions, such as long exposure and light painting.
- Creative and unique night photography ideas include capturing star trails and experimenting with light trails and silhouettes.
- Post-processing is an essential step in night photography to enhance low-light images using software and techniques specifically tailored to night photography.
Understanding the Challenges of Low-Light Photography
Low-light photography can be quite challenging, even for the most experienced photographers. It requires a specific set of skills and techniques to capture stunning images in a low-light environment. In this section, we will explore the key challenges of low-light photography and learn about the techniques and camera settings that can help you overcome them.
Low Light Photography Techniques
Low-light photography techniques involve a range of strategies to capture quality images in low-light conditions. Some of the most popular techniques include:
- Long exposure shots: This involves using a slow shutter speed to capture movement and details in low light settings.
- High ISO settings: This helps to increase the camera’s sensitivity to light, allowing you to achieve brighter shots even in dim light.
- Night mode: This feature is available on many cameras and can help to capture detailed shots in low-light environments.
- Manual focus: This gives you greater control over the camera’s focus, allowing you to capture sharp shots even in low-light conditions.
Night Photography Camera Settings
Low-light photography requires specific camera settings to capture the best shots in challenging lighting conditions. Some of the key camera settings to consider include:
| Camera Setting | Description |
|---|---|
| Shutter speed | Using a slower shutter speed can help capture more light, but it can also result in motion blur if not held steady. Try using a tripod or stabilizing the camera to avoid this. |
| Aperture | A larger aperture (lower f-number) can help to let in more light, but it also results in a shallower depth of field. Consider the effect you want for your image when adjusting the aperture. |
| ISO | Higher ISO settings can help to capture more light, but they also increase noise in your image. Strike a balance between a more sensitive ISO setting and a noisier shot. |
By understanding the challenges, techniques, and camera settings required for low-light photography, you’ll be on your way to capturing stunning images in any lighting condition.
Essential Gear for Night Photography
As mentioned earlier, the right gear can make or break your night photography experience. Here are some essential pieces of gear to consider having in your toolkit:
| Camera | Invest in a camera that performs well in low-light conditions, with manual control over shutter speed, aperture, and ISO. |
|---|---|
| Lenses | Wide-angle lenses are ideal for capturing expansive night landscapes, while fast prime lenses are better suited for portraits and other close-up shots. |
| Tripod | A sturdy tripod is essential for preventing camera shake and capturing sharp images, especially during long exposures. |
| Remote shutter release | Using a remote shutter release eliminates camera shake caused by manually pressing the shutter button. |
| Flashlight | A flashlight is useful for illuminating your subject or navigating in the dark. |
| Batteries and memory cards | Bring extra batteries and memory cards to avoid running out of power or storage space while shooting. |
While these are not the only gear options available, they form the foundation of a solid night photography kit. Do your research and invest in quality gear that meets your specific needs and budget.
Techniques for Shooting in Low Light
Low-light photography can be challenging, but there are several techniques you can use to capture stunning images even in dimly lit environments. Here are some tips:
1. Adjust Your Camera Settings
Start by adjusting your camera settings to suit the lighting conditions. You may need to increase your ISO to make your camera more sensitive to light. However, be careful not to set it too high, as this can result in unwanted noise or grain in your images.
You should also use a wide aperture to let more light in and create a shallow depth of field. Consider shooting in manual mode so that you can control the exposure settings yourself.
2. Use a Tripod
When shooting in low light, camera shake can be a significant problem, resulting in blurry images. Using a tripod can help you keep your camera steady and take sharper shots. Alternatively, you can rest your camera on a stable surface or use a remote shutter release.
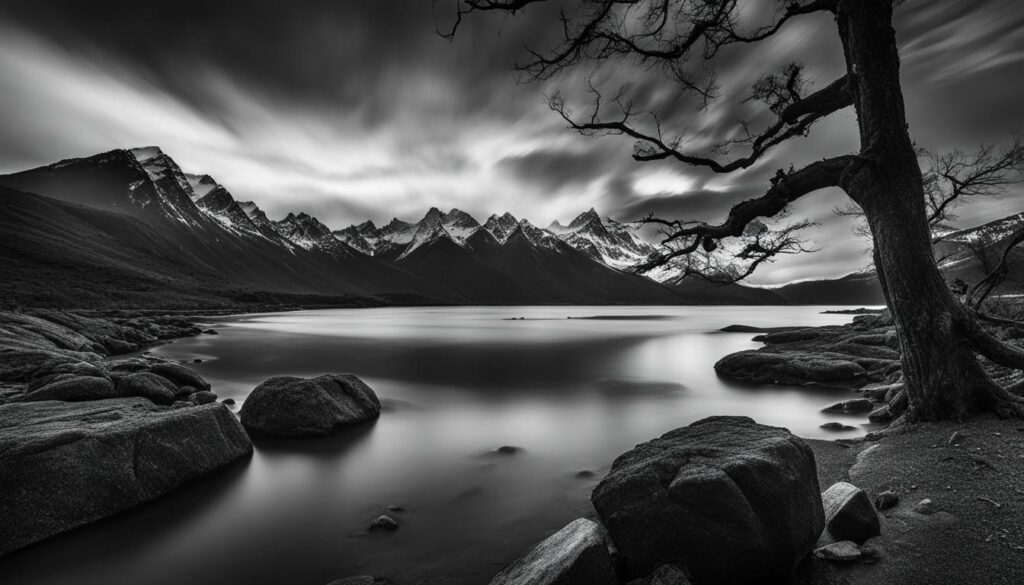
3. Experiment with Long Exposure
Long exposure is a great technique for capturing low-light scenes. By leaving your camera’s shutter open for an extended period, you can capture more light and create stunning effects. Experiment with different shutter speeds to see what works best for your scene.
4. Look for Light Sources
Even in the darkest environments, you can usually find light sources that you can use to your advantage. Look for street lamps, neon signs, or even the moon to provide a little extra illumination. Using these light sources creatively can add depth and interest to your shots.
5. Use Light Painting
Light painting is a fun and creative way to add interest to your low-light shots. You can use a flashlight or other light source to selectively illuminate parts of your scene. This technique can create unique and abstract images.
By using these techniques, you can achieve impressive low-light shots that will capture the mood and atmosphere of your scene. Experiment with different settings, techniques, and ideas to find what works best for you.
Creative Night Photography Ideas
Looking for inspiration to take your night photography to the next level? Here are some creative ideas to explore:
1. Star Trails
Set up your camera on a tripod and use a long exposure to capture a mesmerizing image of the stars’ movement over time. Experiment with different exposure times to create unique effects.
2. Light Trails
Try capturing the light trails of passing cars or other sources of light. Use a slow shutter speed and experiment with different angles and positions to create dynamic images.
3. Cityscapes
Explore your city’s streets at night and capture the lights and energy of the urban landscape. Try experimenting with different lenses and perspectives to create stunning compositions.
4. Silhouettes
Use backlighting to create dramatic silhouettes of people or objects. Play with framing and composition to create compelling images that tell a story.
5. Light Painting
Experiment with light painting techniques to create unique and dynamic images. Use a flashlight or other light sources to “paint” your subject during a long exposure, creating colorful and abstract effects.
6. Reflections
Look for water or other reflective surfaces to capture stunning night reflections. Experiment with composition and exposure settings to create captivating images that play with light and shadow.
7. Night Portraits
Take advantage of the low light to create moody and atmospheric portraits. Experiment with different poses, lighting, and settings to create images that capture the essence of your subject.
Get creative and experiment with these ideas to take your night photography to the next level. Remember, the key is to have fun and let your imagination run wild!
Post-Processing Tips for Night Photography
Night photography can be challenging, but the results are often worth the effort. However, your work doesn’t end when you capture the shot. Post-processing is an essential step in making your night images stand out. Here are some valuable tips and tricks:
- Shoot in Raw format: Shooting in Raw provides more data for post-processing, giving you more control over the final result.
- Adjust the white balance: Low-light conditions can cause color balance issues. Play around with the white balance settings until you get the desired result.
- Reduce noise: High ISO settings can create noise in your image. Use noise reduction tools in software such as Lightroom to smooth out the grain and create a cleaner image.
- Enhance contrast: Increase your image’s contrast to create more depth and drama. However, be careful not to overdo it and lose important details in the shadows or highlights.
- Work with levels and curves: Levels and curves tools can help you adjust the brightness and contrast of specific areas of your image, giving you more control over your final product.
- Add creative effects: If you want to add some extra creativity to your night photos, try playing around with black and white conversions, vignettes, or split toning.
Remember, these are just a few of the many ways you can enhance your night photography through post-processing. Experiment with different techniques and software to find what works best for you and your style. With some practice and creativity, you can create stunning low-light images that will leave a lasting impression.
Conclusion
In conclusion, mastering the art of night and low-light photography requires practice, patience, and dedication. By understanding the challenges posed by low-light conditions and acquiring the right gear, you can capture stunning images that will amaze your viewers.
Experiment and Explore
Continually experiment and explore new techniques and ideas to further elevate your skills in this captivating genre of photography. Remember, the key to becoming a proficient night photographer is practice and perseverance.
Share Your Work
Don’t forget to share your work with others! Whether it’s through social media, online galleries, or in-person exhibitions, showcasing your night photography can inspire and motivate others to pursue their passion for photography.
Thank you for taking the time to read this article. We hope these tips and tricks will help you master the art of night and low-light photography and inspire you to capture amazing images that will last a lifetime.
FAQ
What is night and low-light photography?
Night and low-light photography is a genre of photography that involves capturing images in conditions where there is limited natural light available. It often requires specific techniques and equipment to achieve desired results.
What are some tips and tricks for mastering night and low-light photography?
Some tips and tricks for mastering night and low-light photography include using a tripod to keep the camera steady, adjusting the camera settings to allow for longer exposures, experimenting with different light sources, and utilizing post-processing techniques to enhance the images.
What camera settings are ideal for low-light photography?
Ideal camera settings for low-light photography may vary depending on the specific conditions and desired results. However, some common settings include using a wide aperture (low f-number), increasing the ISO sensitivity, and selecting a longer shutter speed to capture more light.
What gear is essential for night photography?
Essential gear for night photography includes a camera with manual controls, a wide-angle lens for capturing expansive scenes, a sturdy tripod to keep the camera steady during long exposures, and additional accessories like remote shutter release, extra batteries, and flashlights.
What techniques can be used for shooting in low light?
There are several techniques that can be used for shooting in low light, including long exposure photography, light painting, utilizing available light sources, using a flash or external lighting, and experimenting with different composition techniques to make the most of the available light.
What are some creative night photography ideas?
Some creative night photography ideas include capturing star trails, experimenting with light trails from moving vehicles, exploring urban cityscapes at night, photographing silhouettes against a dramatic night sky, and incorporating reflections or water elements into the shots.
How can I enhance my night photography through post-processing?
Post-processing plays a vital role in enhancing night photography. Some tips for post-processing include adjusting exposure levels, balancing colors, reducing noise, sharpening details, applying selective edits to specific areas, and experimenting with creative effects to bring out the best in low-light images.
Affiliate Disclosure: This post may contain affiliate links. If you purchase through our link, we may receive a small commission, but at no additional cost to you. For more information, please see our Disclosure statement.


