We may earn money or products from the companies mentioned in this post.
If you’re a newcomer to the world of woodworking, you may be curious about the process of using wood veneers to create stunning furniture and other decorative items. Veneering can add an extra layer of intricacy and depth to your projects, but it can be intimidating to learn about on your own.
That’s why we’ve put together this easy guide to wood veneering methods for beginners. In this article, we’ll cover the basics of veneer types and selection, the veneering process itself, and helpful tips for pressing and finishing your veneered surfaces. By the end of this guide, you’ll have a solid foundation in the art of wood veneering and be well on your way to creating beautiful, high-quality pieces.
Key Takeaways:
- Wood veneers are thin slices of wood used to decorate and enhance furniture and other projects.
- There are several types of veneer to choose from, with varying thicknesses, colors, and grain patterns.
- The veneering process involves applying adhesive to the veneer and carefully pressing it onto the surface, using techniques such as hammer veneering or vacuum bag pressing.
- Proper veneer preparation and selection can make a big difference in the quality of your finished product.
- Pressing and finishing are the final stages of the veneering process, and require precision and attention to detail for a successful outcome.
Understanding Veneer Types and Selection
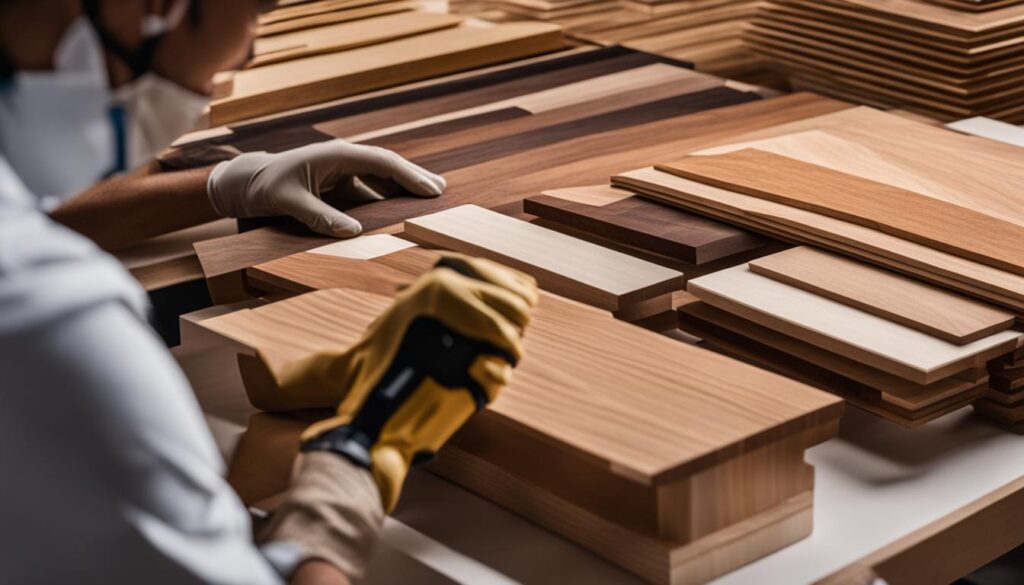
When it comes to wood veneering, selecting the right veneer type and properly preparing it is essential for a successful project. There are many different types of veneers available, each with its unique characteristics and suitability for specific applications.
Common Veneer Types
Some of the most common types of veneers include:
| Veneer Type | Description |
|---|---|
| Flat Cut | A straight grain cut that produces a uniform wood grain pattern. |
| Quarter Cut | A cut that produces vertical grain stripes, also known as a fleck. It is ideal for creating a decorative effect. |
| Rift Cut | A cut that produces a straight grain pattern, similar to that of quarter cut. It is commonly used for modern furniture designs. |
| Burl | A highly figured veneer that is cut from the growths on a tree’s bark. Burl veneers can be used to add character and dimension to your woodworking projects. |
It’s important to note that different veneer types may require different wood veneer techniques and that some may be more challenging to work with than others.
Veneer Preparation
Before applying veneers to your woodworking projects, it’s crucial to properly prepare them. This includes ensuring that the veneer is clean, flat, and free of any defects or damages.
To prepare veneers, you will need to:
- Cut the veneer to the desired size
- Sand the veneer to remove any rough edges or bumps
- Apply a veneer softener to make the veneer more pliable and easier to work with
With the right veneer types and proper preparation techniques, you can take your woodworking skills to new heights and create stunning furniture that stands out from the rest.
Mastering the Veneering Process
Now that you have selected the appropriate veneer for your woodworking project, it’s time to dive into the veneering process. Veneer application can be a delicate procedure, but with the right techniques, you will achieve strong and long-lasting veneer adhesion.
Preparing the Veneer
Before beginning the veneering process, it is essential to properly prepare your veneer. Start by cutting your veneer to the appropriate size and shape for your woodworking project. Next, use a scraper or sandpaper to remove any bumps, knots, or scratches that may prevent the veneer from adhering correctly. Remember to keep the veneer flat and avoid any curling or warping.
Applying the Veneer
There are various techniques for applying veneer, depending on the size and shape of the woodworking project. The most common method is using contact cement to adhere the veneer to the substrate. Apply the cement to both the veneer and substrate, and wait for it to dry before pressing the veneer firmly onto the substrate. Another technique is using a veneer press to apply uniform pressure to the veneer.
Achieving Strong Veneer Adhesion
One of the most critical aspects of the veneering process is achieving strong veneer adhesion. After applying the veneer, use a veneer roller or scraper to ensure there are no air bubbles or pockets between the veneer and substrate. You may also use a veneer hammer or mallet to smooth out any bumps or imperfections. Finally, apply pressure to the veneer using a veneer press to ensure it adheres firmly to the substrate.
Protecting the Veneer
After the veneer has been successfully applied and adhered to the substrate, it’s time to protect it. Use sandpaper to smooth out any rough edges or imperfections, and apply a finish or sealant to protect the veneer from scratches, spills and stains. Avoid placing hot items directly on the veneer surface to prevent damage.
Perfecting Veneer Pressing and Finishing
After successfully applying the veneer to your chosen surface, it’s time to move on to the crucial steps of pressing and finishing. These steps ensure that your veneered surface is smooth, even, and durable.
Veneer Pressing
Veneer pressing is an essential process that guarantees even pressure over the entire veneered surface. This process involves using specialized tools and equipment to apply even pressure, ensuring a strong and long-lasting bond. There are different types of veneer pressing, including:
| Pressing Method | Description |
|---|---|
| Cold Pressing | Involves applying pressure with a press or roller at room temperature. |
| Hot Pressing | Involves using heat to activate the glue and applying pressure with a press to create a strong bond. |
| Vacuum Pressing | Involves using a vacuum press to apply even pressure by removing the air from a sealed bag or chamber. |
Each method has its advantages and disadvantages, and the choice will depend on the project’s requirements and available resources.
Wood Veneer Finishing
The final step in the veneering process is finishing the wood veneer surface. This involves sanding, staining, and sealing the surface to achieve a smooth, even, and appealing finish. The following steps will ensure a satisfactory finishing:
- Sanding: Start by sanding the surface with a fine-grit sandpaper to smooth out any rough spots. Next, use a medium-grit sandpaper to remove any imperfections and scratches.
- Staining: Apply a wood stain to enhance the wood veneer’s natural color or change it to a preferred shade. Always test the stain on a small area before applying it to the entire surface to ensure a satisfactory result. Allow the stain to dry before proceeding to the next step.
- Sealing: Once the stain has dried, apply a sealer to protect the surface from moisture and damage. There are different types of sealers available, including lacquer, polyurethane, and shellac. Choose the sealer that best suits the project’s requirements.
Remember that the quality of the finish will depend on the quality of the veneer application and the preparation of the surface. Ensure that the surface is clean and free of dust and debris before starting the finishing process.
Conclusion
Wood veneering is a highly versatile technique that opens up a world of possibilities for woodworking enthusiasts. By exploring the different wood veneering methods, you can unleash your creativity and craft stunning furniture that stands out from the rest.
This guide has provided beginners with a comprehensive understanding of wood veneering, from selecting the right veneer types to mastering the veneering process and achieving a flawless finish. With patience, practice, and the right tools, you can create works of art that showcase your craftsmanship and skill.
Whether you’re looking to produce intricate designs or elevate your furniture-making skills, wood veneering offers endless possibilities. Start your journey into the world of wood veneering today and unlock a world of creative potential!
Explore Wood Veneering Methods Today!
Thank you for reading our guide on wood veneering methods. We hope you found it informative and useful. Please feel free to share it with your fellow woodworking enthusiasts, and remember to always practice good safety measures and use the proper tools when working with wood veneers.
Stay tuned for more guides and tips on woodworking techniques and tools, and continue to explore the world of wood veneering methods to create stunning and unique pieces of furniture and woodwork!
Start your journey into the world of wood veneering today and experience the satisfaction of creating beautiful pieces that will last a lifetime.
Wood Veneering Methods – unlocking creative potential one veneer at a time.
FAQ
What is wood veneering?
Wood veneering is the process of covering a solid wood surface with a thin layer of wood veneer to create a decorative or protective finish.
What types of wood veneers are available?
There are various types of wood veneers available, including plain sliced, quarter sliced, rotary cut, and rift cut veneers. Each type has its own unique appearance and characteristics.
How do I select the right veneer for my project?
When selecting a veneer, consider factors such as the desired aesthetic, the wood species, and the intended use of the project. It’s important to choose a veneer that will complement your design and meet the requirements of the final product.
How do I prepare veneers for the veneering process?
To prepare veneers, you should ensure they are properly stored and acclimated to the environment where they will be used. It’s important to flatten and clean the veneers before applying them to the wood surface.
What are the steps for applying veneers?
The veneering process typically involves steps such as surface preparation, applying adhesive to both the wood surface and the veneer, carefully aligning the veneer, and using pressure to bond the veneer to the wood.
How can I achieve strong and long-lasting veneer adhesion?
To achieve strong veneer adhesion, it’s crucial to apply even pressure during the pressing process and ensure proper adhesive application. Using a veneer press or clamps can help distribute pressure evenly and promote a secure bond.
What methods can I use to press veneers?
There are multiple methods for pressing veneers, including using a veneer press, vacuum bagging, or using clamps and cauls. The method you choose will depend on the size of your project and the tools available to you.
How do I achieve a flawless finish on my wood veneered surfaces?
Achieving a flawless finish involves proper sanding, applying the appropriate finish, and ensuring thorough coverage. It’s important to carefully sand the veneered surface to achieve a smooth texture that is free of imperfections.
Can I use wood veneering methods on any type of wood?
Wood veneering methods can be used on a variety of wood species, including hardwoods and some softwoods. However, certain woods may be more suitable for veneering depending on their stability and compatibility with adhesives.
Where can I learn more about wood veneering techniques?
There are various resources available, including books, online tutorials, and woodworking forums, where you can learn more about wood veneering techniques. Additionally, seeking guidance from experienced woodworkers or attending workshops can provide valuable hands-on learning opportunities.
Affiliate Disclosure: This post may contain affiliate links. If you purchase through our link, we may receive a small commission, but at no additional cost to you. For more information, please see our Disclosure statement.


