We may earn money or products from the companies mentioned in this post.
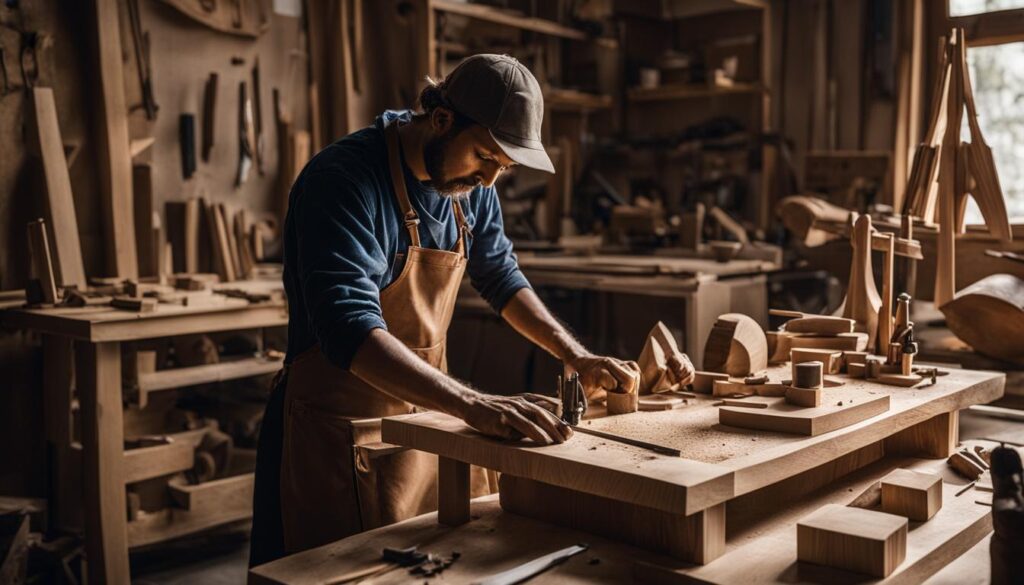
Wood sculpting is an ancient art form that has been practiced for centuries and passed down from generation to generation. From intricate figurines to large-scale statues, the possibilities with wood sculpting are endless. If you’re new to the world of wood sculpting, it can be overwhelming. This guide aims to provide beginners with a comprehensive overview of wood sculpting techniques.
Wood sculpting requires precision, patience, and practice. It involves the use of tools to shape and carve wood into intricate designs. By mastering the essential techniques and tips in this guide, you’ll be on your way to creating beautiful wood sculptures.
Key Takeaways:
- Wood sculpting is an ancient art form that has been practiced for centuries.
- Wood sculpting requires precision, patience, and practice.
- By mastering the essential techniques and tips in this guide, you’ll be on your way to creating beautiful wood sculptures.
- Wood sculpting involves the use of tools to shape and carve wood into intricate designs.
- Unleash your creativity and enjoy the art of wood sculpting!
Understanding Wood Sculpting Tools
Wood carving tools are essential for any wood sculpting project. Understanding the various types of tools and techniques will help you achieve the desired results and bring your artistic vision to life.
There are two main categories of wood carving tools: cutting tools and shaping tools. Cutting tools include knives, chisels, and gouges, while shaping tools include rasps, files, and sandpaper. Each type of tool is used for a specific purpose and requires proper technique and handling to ensure safety and accuracy in your work.
Cutting Tools
Knives are the most basic and essential cutting tool in wood sculpting. They come in various shapes and sizes, from small chip carving knives to larger carving knives for more extensive cuts. When using a knife, it is crucial to maintain a sharp blade and grip the handle firmly with your dominant hand while using your other hand to secure the wood piece you’re working on.
Chisels are another type of cutting tool used in wood sculpture. They come in different shapes and sizes, each with specific uses. Chisels are excellent for creating straight lines, angled cuts, and square holes. They require proper hand positioning and a mallet for striking the tool to make a cut.
Gouges are curved cutting tools used for creating hollows, concave shapes, and sculpting details such as eyes, ears, and noses. Like chisels, gouges require proper hand positioning and a mallet, depending on the force required for the cut. The angle and depth of the gouge will affect the shape and depth of the cut.
Shaping Tools
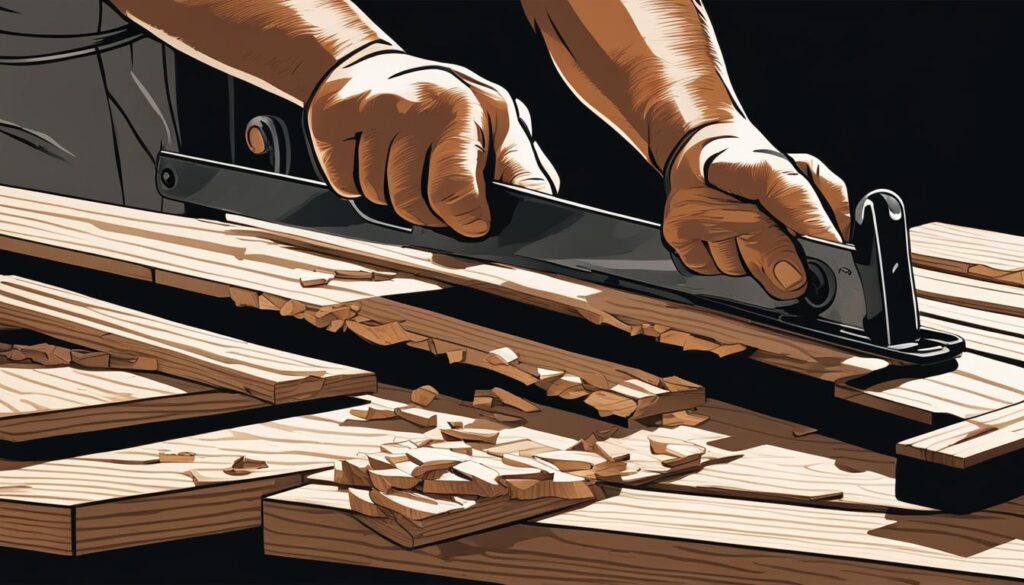
Rasps are shaping tools used for removing rough edges, smoothing surfaces, and shaping curves. They come in various shapes and sizes, and each type has specific uses. Rasps work well on curved surfaces and can create a smooth finish. They are often used in combination with cutting tools to refine and shape a wood sculpture.
Files are similar to rasps but are more versatile and precise. They come in different shapes and sizes, from flat to round, and can be used for various shaping and smoothing techniques. They are often used for finishing touches on a sculpture, bringing out the details and adding texture.
Sandpaper is a shaping tool used for smoothing surfaces and removing imperfections. It comes in various grits, from coarse to fine, and can be used in combination with rasps and files for a smooth finish. Sandpaper is also useful for preparing the surface of the wood for staining or sealing.
Wood sculpture methods vary depending on the desired outcome and the tools used. Some artists prefer to use hand tools exclusively, while others incorporate power tools for faster and more precise cuts. Regardless of the method used, it is essential to understand the tools and techniques to achieve the best results.
Tip: Before starting a wood sculpting project, it is crucial to ensure that your tools are sharp and in good condition. Dull tools can be dangerous to work with and can damage your wood piece.
Selecting the Right Wood for Sculpting
Choosing the right wood for your carving projects is crucial to achieving the desired result. Different woods have unique characteristics that affect their workability, texture, and appearance. Here are some essential considerations when selecting wood for your sculptures:
- Type of Wood: There are numerous types of wood to choose from, each with its own pros and cons. Softwoods such as pine, cedar, and basswood are excellent choices for beginners due to their ease of carving. Hardwoods, such as cherry, oak, and mahogany, are more challenging to work but offer greater durability and intricate details.
- Wood Grain: The direction and patterns of the wood grain can significantly affect the carving process and the final appearance of your piece. It’s crucial to choose wood with a consistent and straight grain to ensure clean cuts and uniform texture.
- Moisture Content: The moisture content of the wood is another critical factor to consider. Green, freshly cut wood is high in moisture and prone to splitting and warping as it dries. Dry wood, on the other hand, is harder and more challenging to carve. It’s best to choose wood with a moisture content of around 10-15% for optimal carving conditions.
- Wood Size: The size of your piece will determine the size of the wood you need. It’s essential to choose a wood block that is large enough to carve your design without running out of material midway.
- Wood Source: Finally, it’s important to consider the source of your wood. Sustainably harvested wood is always the best option, both for the environment and the quality of your sculpture. Make sure to purchase wood from reputable suppliers and avoid using wood from unknown sources or illegally harvested wood.
By considering these factors when selecting wood for your carving projects, you can ensure that you have a suitable material that will bring your vision to life.
Basic Wood Carving Techniques
Wood carving is a delicate art that requires patience, precision, and practice. In this section, we’ll cover the fundamental techniques that every beginner should know to get started on their wood carving journey. Whether you’re interested in carving small projects like figurines or larger pieces like furniture, these techniques will form the basis of your wood carving skills.
Proper Tool Grip
Before we dive into specific carving techniques, it’s crucial to master the proper way to hold and maneuver your tools. Your grip should be firm but relaxed, and the tool should be held slightly above the blade. Your non-dominant hand should be used to stabilize the wood while your dominant hand guides the tool. As you become more comfortable with the tools, you can experiment with different grip styles to find what works best for you.
Essential Carving Strokes and Cuts
There are several basic carving strokes and cuts that every beginner wood carver should be familiar with:
- Straight cutting: The most basic cut, used for removing larger sections of wood.
- Push cut: Used for smoothing and shaping surfaces, push the blade away from you while maintaining a steady grip on the tool.
- Pull cut: Used for removing small sections of wood, pull the blade towards you while using your non-dominant hand to steady the wood.
- V-cut: Made by pushing the blade at an angle into the wood, creating a V-shaped indentation.
Once you’ve mastered these basic cuts, you can experiment with combining them to create more complex shapes and textures.
Knife Techniques
A carving knife is a versatile tool that can be used to create a range of finishes and textures. Here are a few techniques to get you started:
- Scooping: Use the tip of the knife to scoop out small sections of wood, creating rounded or concave shapes.
- Whittling: Use the blade of the knife to remove thin slivers of wood, creating a smooth surface.
- Slicing: Use the knife to slice through thin sections of wood, creating delicate and intricate designs.
With a little practice, these techniques can be used to create a wide range of shapes and designs.
Chisel Techniques
Chisels are another essential tool for any wood carver. Here are a few basic techniques to help you get started:
- Plunge cut: Use the chisel to make a straight cut into the wood, creating a groove or channel.
- Paring: Hold the chisel at an angle and use it to slice through thin sections of wood, creating a smooth surface.
- Gouging: Use the chisel to remove larger sections of wood, creating curved or rounded shapes.
As with knife techniques, mastering chisel techniques takes time and practice.
By mastering these basic wood carving techniques, you’ll be well on your way to creating beautiful and intricate wood sculptures. Remember to start small and practice regularly to hone your skills!
Adding Detail and Texture to Your Sculpture
Once you have mastered the basic wood carving techniques, it’s time to add some personality and character to your sculpture by incorporating intricate details and textures. This is where the true artistry of wood sculpting shines.
There are several techniques you can use to add depth and visual interest to your wood carving. Here are some of the most popular:
- Relief carving: This technique involves carving away the background of a design to create a raised, three-dimensional image. It’s often used for decorative panels, doors, and mantels.
- Chip carving: A popular method for creating geometric shapes, chip carving involves removing small chips of wood from the surface of a piece to create intricate patterns.
- Texturing: By using a variety of tools, you can create different textures in wood, such as scales, fur, or feathers. This technique is especially useful for carving animals or other organic objects.
One important tip when adding detail to your wood sculpture is to work slowly and carefully. It’s easy to accidentally remove too much wood or make a mistake that ruins your design, so take your time and don’t rush the process.
“Wood carving is the perfect way to bring your ideas to life. With the right techniques, tools, and materials, you can create a one-of-a-kind work of art that will be treasured for years to come.”
Another helpful tip is to pay attention to the direction of the wood grain. Carving against the grain can cause the wood to splinter or break, while carving with the grain will produce a smooth, even finish. Take a few moments to study the wood grain before you begin carving to ensure the best results.
Finally, don’t be afraid to experiment with different techniques and styles. Wood carving is a versatile art form that can be used to create everything from realistic animals to abstract sculptures. Let your creativity guide you, and have fun with the process!
Finishing and Sealing Your Wood Sculpture
Once you’ve completed your wood carving project, it’s essential to finish and seal it properly to protect it from environmental factors. Not only will finishing improve the appearance, but it will also enhance the longevity of your piece. Here are some essential tips for finishing and sealing:
Choosing the Right Finish
There are various finishes to choose from, including oils, waxes, varnishes, and lacquers. Each offers unique benefits and drawbacks, so it’s essential to consider the intended use and appearance of your piece when selecting a finish. For example, oils penetrate the wood and provide a natural look, while varnishes create a glossy, durable finish.
Applying the Finish
When applying the finish, be sure to read the manufacturer’s instructions carefully. Generally, you’ll need to sand the surface of the wood with fine-grit sandpaper and then apply the finish using a brush or cloth. Ensure that each coat is applied evenly, and wait for each coat to dry completely before applying the next.
Sealing the Wood
Sealing the wood before applying the finish is crucial to prevent moisture from penetrating the surface and causing damage. You can use sanding sealer, a clear, fast-drying solution that seals the wood without adding color. Apply the sanding sealer, wait for it to dry, then sand it lightly before applying the finish.
Additional Tips
- Always work in a well-ventilated area.
- Wear gloves and a respirator mask to protect yourself from harmful fumes.
- Apply several thin coats rather than one thick coat of finish.
- Avoid over-sanding or under-sanding the wood before applying the finish.
Remember that the finishing process is an essential part of the wood sculpting process. Take your time, follow the instructions, and don’t rush the process. Your finished product will be well worth the effort!
Safety Precautions in Wood Sculpting
Wood sculpting can be a fulfilling and exciting hobby, but it’s important to prioritize safety in the workshop. Here are some essential safety guidelines to follow, especially if you’re a beginner:
Proper Tool Handling
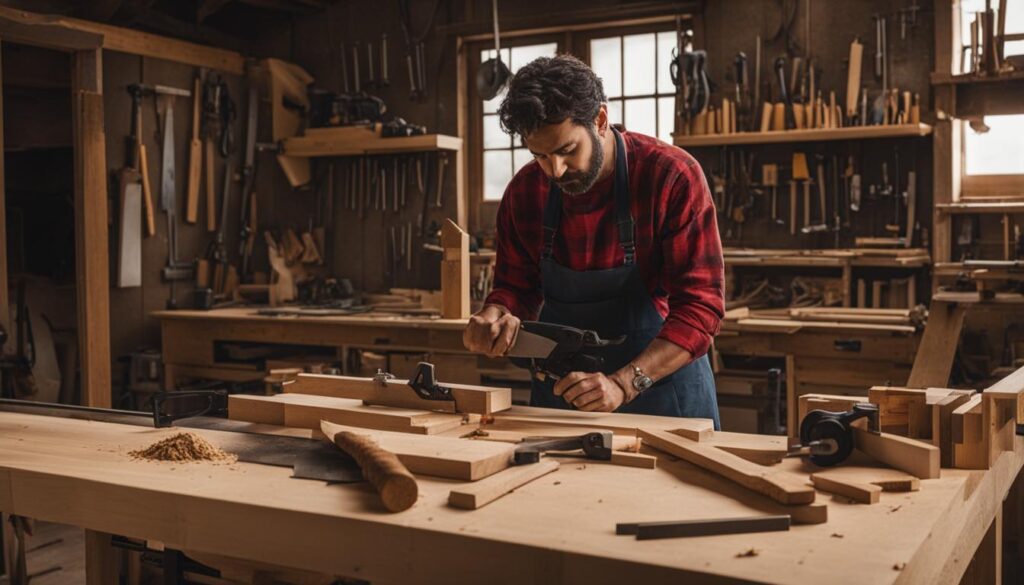
One of the first things to learn when using wood carving tools is how to handle them properly. Always hold them securely with both hands and keep your fingers away from the sharp edges while carving. Avoid wearing loose clothing or jewelry that could get caught in the tools, and make sure the tools are sharp and in good condition before using them.
Protective Gear
Protective gear is a must-have when working with wood carving tools. Wear gloves to protect your hands from cuts and splinters, and eye protection to shield your eyes from any flying debris. A dust mask can also be useful in preventing the inhalation of wood dust, which can be harmful to your respiratory system.
A Safe Working Environment
Creating a safe working environment is crucial when engaging in wood sculpting. Make sure you have enough space to work comfortably and that the area is well-lit. Keep your work area clean and organized to prevent tripping hazards or having tools lying around. If you have children or pets, keep them away from your workspace or use barriers to prevent them from entering the area.
Conclusion
By now, you should have a solid understanding of the foundational techniques and tools necessary for wood sculpting. Remember to choose the appropriate type of wood for your project and always prioritize safety during the process.
With practice and patience, you’ll be able to create intricate and beautiful wood sculptures that showcase your creativity and skill. Don’t be afraid to experiment with different techniques and methods to find your unique style. And most importantly, have fun with the art of wood carving!
FAQ
What is wood sculpting?
Wood sculpting is an art form that involves shaping and carving wood to create sculptures and decorative objects.
Do I need any prior experience to start wood sculpting?
No, wood sculpting can be enjoyed by beginners. However, it does require patience, practice, and a willingness to learn the techniques.
What tools do I need for wood sculpting?
Wood sculpting tools include carving knives, chisels, gouges, mallets, and sandpaper. The specific tools you need will depend on the project and techniques you plan to use.
How do I choose the right wood for sculpting?
When selecting wood for sculpting, consider factors such as grain pattern, hardness, and availability. Common woods used in sculpting include basswood, mahogany, and oak.
Are there any safety precautions I should take when wood sculpting?
Yes, safety is important in wood sculpting. Always wear protective gear such as goggles and gloves, maintain a clean and organized workspace, and handle tools carefully to avoid accidents.
How do I add texture and detail to my wood sculpture?
Texture and detail can be added to wood sculptures through techniques such as relief carving, chip carving, and texturing. These techniques involve creating patterns, lines, and intricate designs on the surface of the wood.
How should I finish and seal my wood sculpture?
Finishing and sealing your wood sculpture helps protect it and enhance its appearance. Common finishing options include varnishing, oiling, or applying a wood stain. Use a clear sealer to protect the wood from moisture and other environmental factors.
Can I sell my wood sculptures?
Yes, many wood sculptors sell their creations. You can explore selling your sculptures at art shows, galleries, online platforms, or even by offering custom commissions.
Affiliate Disclosure: This post may contain affiliate links. If you purchase through our link, we may receive a small commission, but at no additional cost to you. For more information, please see our Disclosure statement.


