We may earn money or products from the companies mentioned in this post.
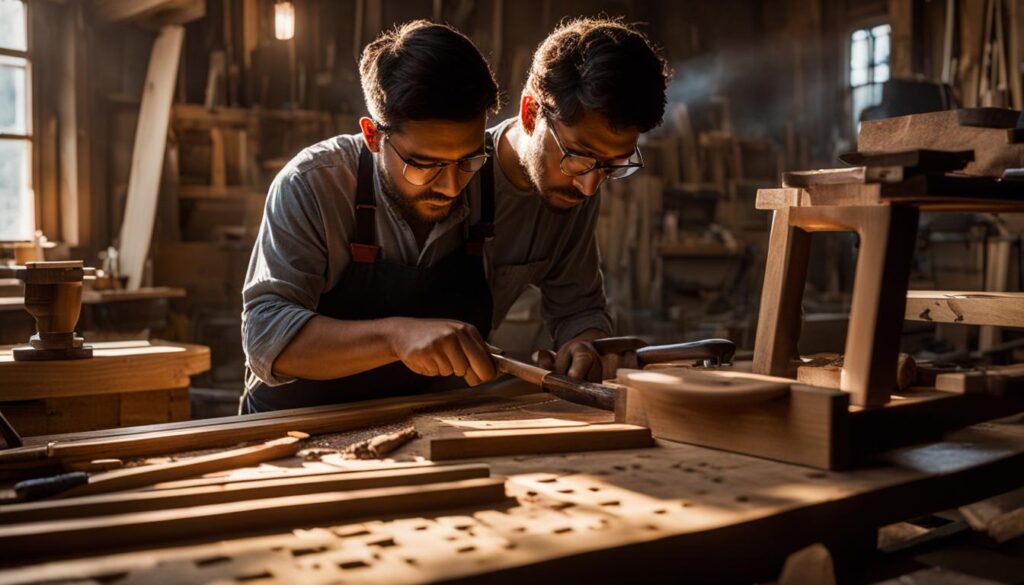
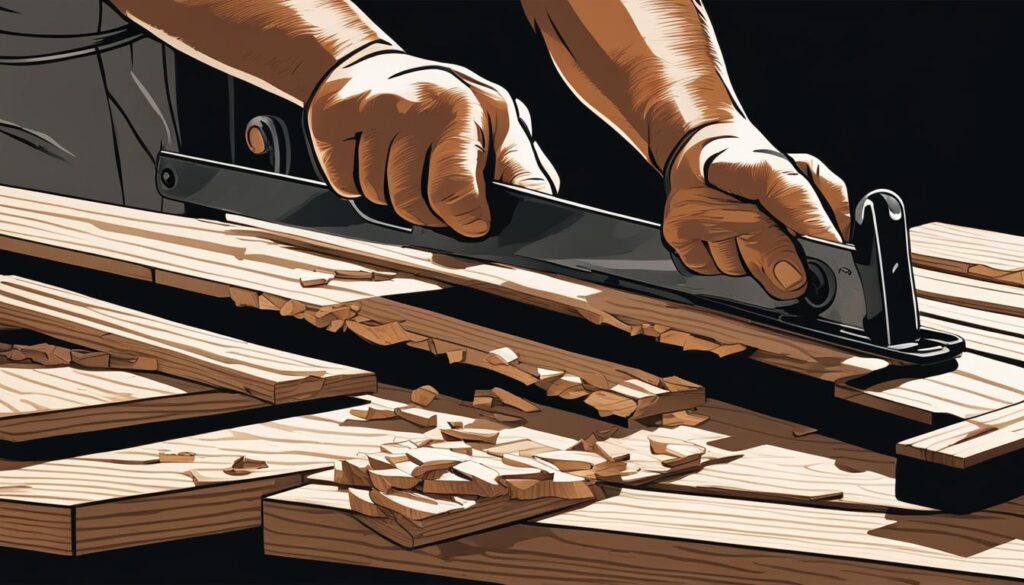
If you’re a woodworking enthusiast looking to take your craft to the next level, learning wood inlay techniques is a great way to elevate your projects. Wood inlay involves adding decorative elements to a piece of wood by cutting out a design and fitting in a contrasting material. The result is a beautiful and unique piece of art that adds character and dimension to any project.
In this guide, we’ll introduce you to the world of wood inlay techniques. You’ll learn about the different types of inlay materials and tools, explore a variety of inlay patterns and designs, and follow a step-by-step guide to mastering the art of wood inlay. We’ll also provide tips and tricks for troubleshooting common issues that may arise during the process.
Key Takeaways:
- Wood inlay involves adding decorative elements to a piece of wood by cutting out a design and fitting in a contrasting material
- Learning wood inlay techniques can elevate your woodworking projects to the next level
- There are a variety of inlay materials and tools available to choose from
- Inlay patterns and designs can range from traditional to intricate and artistic
- Following a step-by-step guide is crucial to mastering wood inlay techniques
Understanding Wood Inlay Materials and Tools
Wood inlay requires precision and accuracy, and having the right tools and materials is essential to achieving professional-looking results. Let’s dive into some of the most common materials used in inlay and the tools necessary to create stunning designs.
Inlay Materials
The material used for inlay largely depends on the design and the desired effect. Wood is the most commonly used material, as it seamlessly blends with the base wood and allows for intricate details. Other materials that can be used for inlay include metals like brass and silver, as well as stone, shell, and bone.
When choosing the material for an inlay, consider the color, hardness, and texture of the material, as well as how it will be cut and fit into the base wood.
Wood Inlay Tools
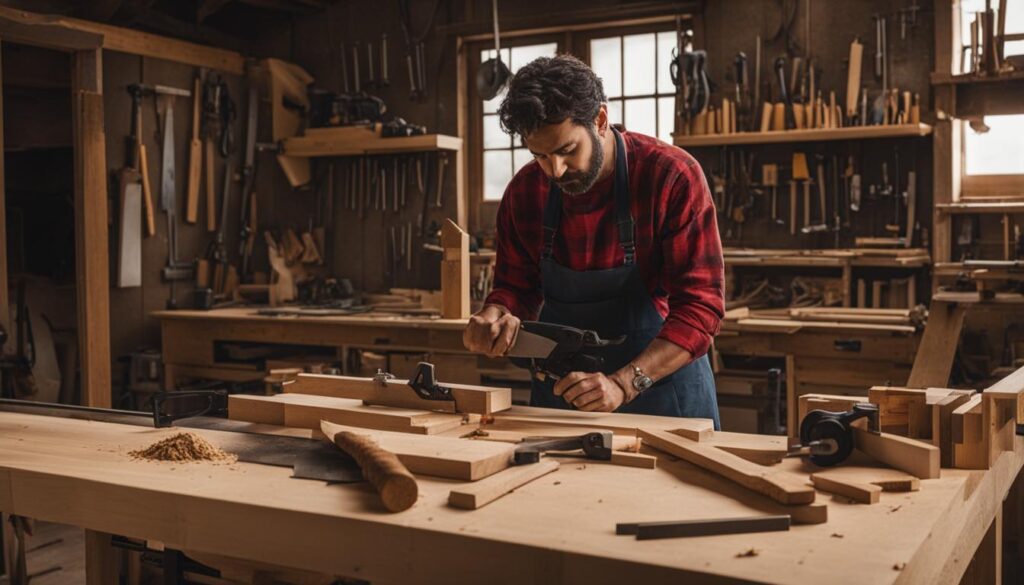
Wood inlay requires a variety of tools for cutting, shaping, and fitting the inlay pieces. Here are some of the essential tools you will need:
| Tool | Function |
|---|---|
| Scroll saw | Used for cutting intricate shapes and patterns in the inlay material |
| Coping saw | Allows for more precise cuts, particularly for curved lines and shapes |
| Chisels | Used for shaping and carving the inlay material to fit into the base wood |
| Sanding tools | Helps to smooth out the inlay pieces and blend them seamlessly with the base wood |
| Glue | Used to secure the inlay pieces into the base wood |
Having high-quality tools that are well-maintained is key to the success of any inlay project. Take the time to invest in good tools and learn how to use them properly, and you’ll be well on your way to mastering wood inlay techniques.
Exploring Inlay Patterns and Designs
Wood inlay designs have been around for centuries, adding a touch of artistry and elegance to furniture, floors, and decorative objects. With modern woodworking tools and techniques, the sky’s the limit when it comes to creating stunning inlay patterns and designs.
Whether you prefer classic geometric shapes or more intricate and creative designs, there are countless options to explore. Some popular inlay patterns include:
- Checkerboard pattern
- Diamond shape pattern
- Star pattern
- Floral pattern
- Curved line pattern
- And many more!
If you’re looking for inspiration or want to create your own unique designs, you can find a variety of wood inlay patterns and designs online. Consider experimenting with different wood types and colors to create contrast and enhance the beauty of your inlay work.
“Wood inlay patterns are a fantastic way to add a touch of sophistication and creativity to any woodworking project.”
DIY Wood Inlay
Wood inlay designs can be created using a variety of techniques, from hand-cutting to CNC routing. However, if you’re new to wood inlay, you may want to start with some simple DIY projects.
One popular DIY wood inlay project is creating a simple picture frame with a small inlay design in the corner. This project is an excellent way to get started with wood inlay and can be completed in just a few hours.
To create a DIY wood inlay project, you’ll need:
- A wooden frame
- Inlay material (ex: thin strips of contrasting wood)
- Table saw or hand saw
- Chisel or router
- Wood glue
Once you have your supplies, follow these simple steps:
- Cut a groove into the corner of the frame where you want to place the inlay.
- Cut your inlay material to fit the size of the groove.
- Glue the inlay material in place.
- Sand the inlay flush with the surface of the frame.
With some practice and experimentation, you’ll be able to create more complex wood inlay designs that will impress even the most seasoned woodworkers.
Step-by-Step Guide to Wood Inlay Techniques
Learning how to do wood inlay is a rewarding experience that can enhance your woodworking skills. Follow this step-by-step guide for a thorough understanding of the process.
Step 1: Prepare the Inlay Pieces
The first step in creating woodworking inlays is to prepare the inlay pieces. This involves selecting the appropriate materials and cutting them to size. Use a sharp chisel or scalpel to cut the inlay pieces to the desired shape and size, ensuring they fit snugly together without gaps.
Step 2: Prepare the Wood Surface
Prepare the wood surface by sanding it down to ensure it is smooth and free of any debris or bumps. This will help the inlay pieces to adhere properly.
Step 3: Cut the Inlay Grooves
Using a router or chisel, cut the grooves in the wood where the inlay will be placed. Ensure the grooves are the correct depth and width to fit the inlay pieces precisely.
| Inlay Technique | Tools Required |
|---|---|
| Router Inlay | Router, template, inlay bushing, carbide bit, inlay material |
| Chisel Inlay | Chisels, scalpel, inlay material |
Step 4: Glue in the Inlay Pieces
Apply a small amount of wood glue to the bottom of each inlay piece and press firmly into the groove. Wipe away any excess glue and allow the inlay to dry for at least 24 hours.
Step 5: Sand and Finish the Inlay
Once the inlay is dry, sand it down to ensure it is level with the surface of the wood. Apply a finish of your choice to enhance the beauty of the inlay and protect it from wear and tear.
Following these steps will give you a solid foundation to create stunning woodworking inlays. Remember to practice patience and precision, as these are key factors in achieving flawless results.
Advanced Wood Inlay Techniques and Tips
Once you have a solid foundation in wood inlay techniques, there’s no limit to the creativity and beauty you can achieve. Here are some advanced techniques and tips to take your woodworking inlays to the next level:
Wood Inlay Ideas
One way to elevate your woodworking inlays is by incorporating unique and eye-catching designs. Consider using unconventional materials such as stones, shells, or even recycled materials to add texture and contrast to your inlay work. Alternatively, experiment with asymmetrical designs to create a more abstract and contemporary look.
Another way to generate wood inlay ideas is by looking to nature for inspiration. Leaves, flowers, and animal silhouettes can create stunning inlay designs that bring a touch of the outdoors inside.
Traditional Wood Inlay
While there’s nothing wrong with exploring new and innovative designs, traditional wood inlay techniques have stood the test of time for a reason. By mastering traditional techniques such as stringing, banding, and pictorial inlay, you can create timeless and elegant pieces that showcase the beauty of the wood grain.
“To achieve a truly classic and elegant look, combine traditional techniques with unique and creative designs.”
Color Matching
When it comes to wood inlay, color matching is key to creating a cohesive and polished look. To achieve the best results, use wood species with similar colors and grains. Alternatively, consider adding subtle touches of color to your inlay work with the use of dyed veneers or inlaid metals.
Texture
Texture can add dimension and interest to your woodworking inlays. Experiment with different textures such as hammered metals or rough-cut wood to create contrast and depth in your designs. Additionally, incorporating different wood species with varying textures can create a dynamic and visually engaging piece.
Experimentation
Most importantly, don’t be afraid to experiment with new techniques and designs. Woodworking inlays are a form of art, and like any art form, it’s all about self-expression and creativity. Whether you’re trying a new technique or incorporating an unconventional material, trust your instincts and let your creativity soar.
Troubleshooting and Common Mistakes in Wood Inlay
As with any woodworking technique, there can be some common mistakes that occur during the wood inlay process. Here are some troubleshooting tips to help you avoid any potential issues and achieve beautiful woodworking inlays.
Problem: Inlay pieces are not fitting together properly
Solution: Double-check your measurements and use a fine-tipped marker to identify where the inlay pieces need to be trimmed. Take your time and work slowly to ensure a precise fit.
Problem: Wood surface is not level
Solution: Sand the surface of the wood until it is level before you begin the inlay process. Use a straight edge to check for any bumps or unevenness.
Problem: Glue smudges on the surface of the inlay
Solution: Use a damp cloth to wipe away any glue smudges immediately. If the glue has dried, use a sharp blade to carefully scrape it away.
Problem: Inlay pieces are shifting during the glue-up process
Solution: Use masking tape to secure the inlay pieces in place while the glue dries. Ensure the tape is not too tight and does not damage the wood surface.
With these troubleshooting tips in mind, you can avoid common mistakes and achieve stunning woodworking inlays with ease. Remember to take your time, practice patience, and enjoy the process of mastering wood inlay techniques.
Conclusion
Congratulations! You’ve completed our guide to mastering wood inlay techniques. We hope that you’ve found the information provided to be insightful, inspiring, and helpful in your woodworking journey.
Recapping the Techniques Learned
Throughout this guide, we’ve covered everything from the basics of wood inlay techniques to advanced methods and tips. You’ve learned about the different materials and tools used in wood inlay, explored a variety of patterns and designs, and followed a step-by-step guide to create your own inlay projects.
The Endless Possibilities of Wood Inlay
As a woodworker, mastering wood inlay techniques opens up a world of creativity and craftsmanship. The possibilities are endless, from creating one-of-a-kind furniture pieces to incorporating inlay designs into smaller projects like jewelry boxes or picture frames.
Your Wood Inlay Journey Continues
Remember, wood inlay is an art form that takes practice and patience to master. Don’t be afraid to experiment with different materials, designs, and techniques to find what works best for you. And always remember to enjoy the process of creating something beautiful with your hands.
Thank you for choosing our guide as your resource for learning wood inlay techniques. We hope it has been a valuable asset to your woodworking journey. Happy crafting!
FAQ
What are wood inlay techniques?
Wood inlay techniques involve the process of using different materials, such as wood or metal, to create decorative designs or patterns within the surface of another piece of wood. These techniques add visual interest and can enhance the overall look of woodworking projects.
What materials and tools are needed for wood inlay?
Wood inlay can be done using a variety of materials, including different types of wood, metals, or even stone. The tools required for wood inlay typically include a chisel or gouge for creating the recessed area, a coping saw or scroll saw for cutting the inlay pieces, and adhesive or epoxy for securing the inlay into place.
What types of inlay patterns and designs are available?
There are countless inlay patterns and designs to choose from. Some popular options include geometric patterns, floral motifs, or even personalized designs such as initials or logos. The possibilities are limited only by your imagination and skill level.
How do I master wood inlay techniques?
Mastering wood inlay techniques takes practice and patience. It’s important to start with a solid understanding of the basic steps involved in the process, such as preparing the wood surface, cutting the inlay pieces, and fitting them into place. As you gain experience, you can experiment with more complex designs and techniques.
What are some advanced wood inlay techniques?
Advanced wood inlay techniques can include more intricate designs, such as marquetry or parquetry, which involve creating elaborate patterns using multiple types of wood veneers. You can also explore techniques like sand shading or wood burning to add depth and dimension to your inlay designs.
What are some common mistakes to avoid in wood inlay?
Common mistakes in wood inlay can include not properly planning and measuring the inlay pieces, using the wrong adhesive or not allowing enough drying time, or not properly finishing the inlay surface. It’s important to take your time, follow the steps carefully, and practice good technique to achieve the best results.
Affiliate Disclosure: This post may contain affiliate links. If you purchase through our link, we may receive a small commission, but at no additional cost to you. For more information, please see our Disclosure statement.


